|
|
Interior Photos
(back to the main minimoog page)
Question: Why would I open my minimoog if there's nothing wrong with it?
Answer: for science.
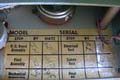
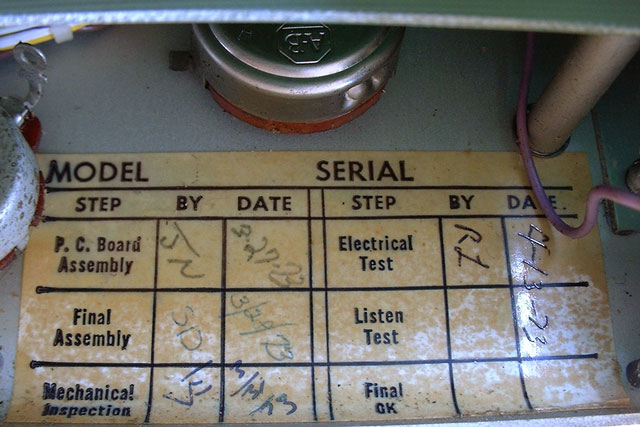
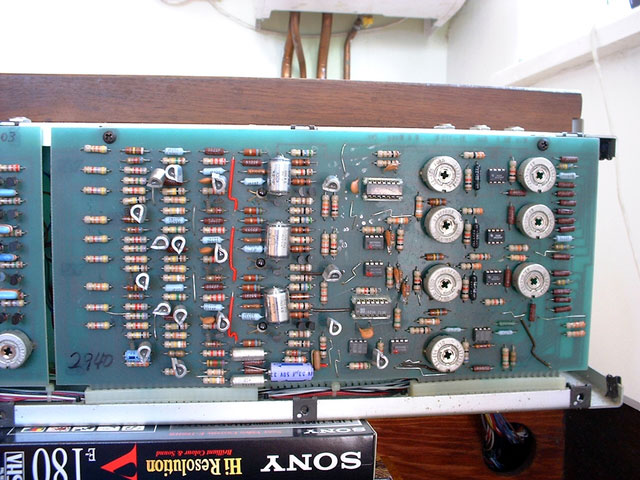
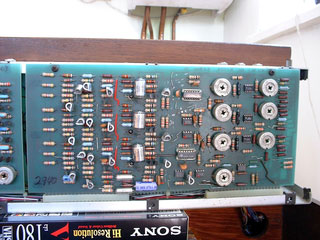
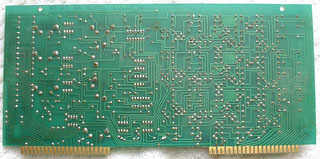
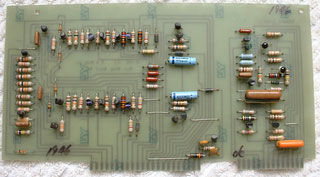
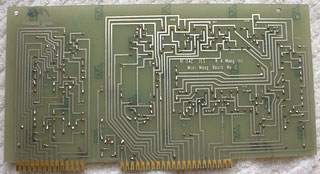
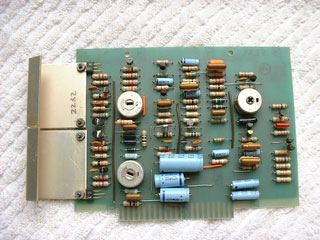
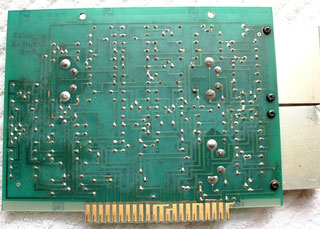
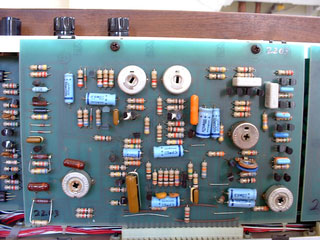
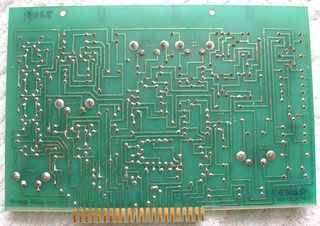
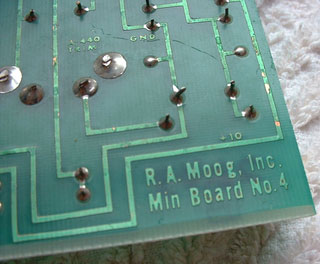
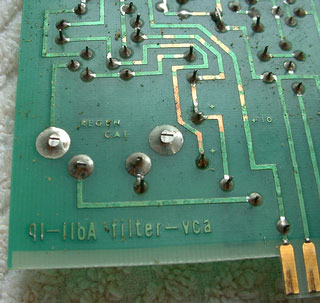
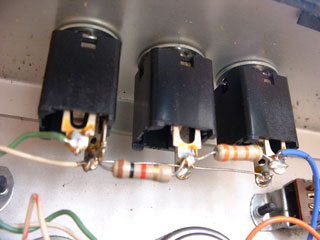
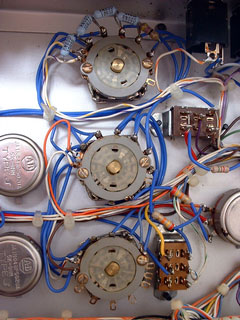
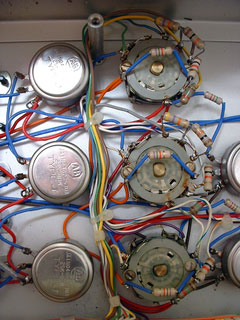
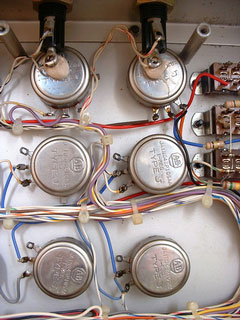
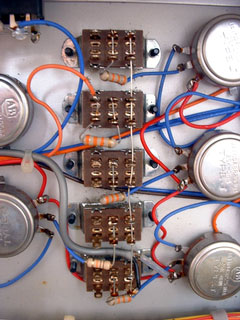
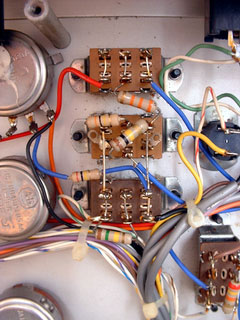
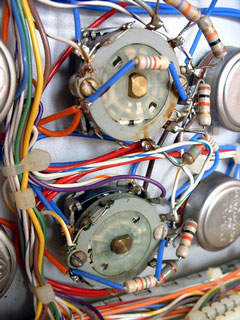
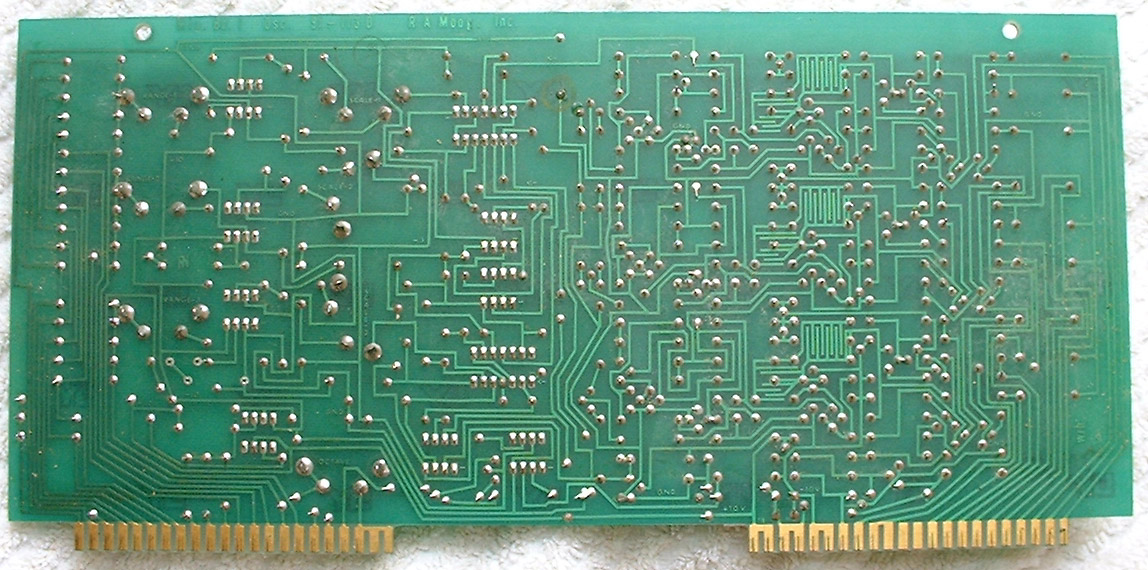
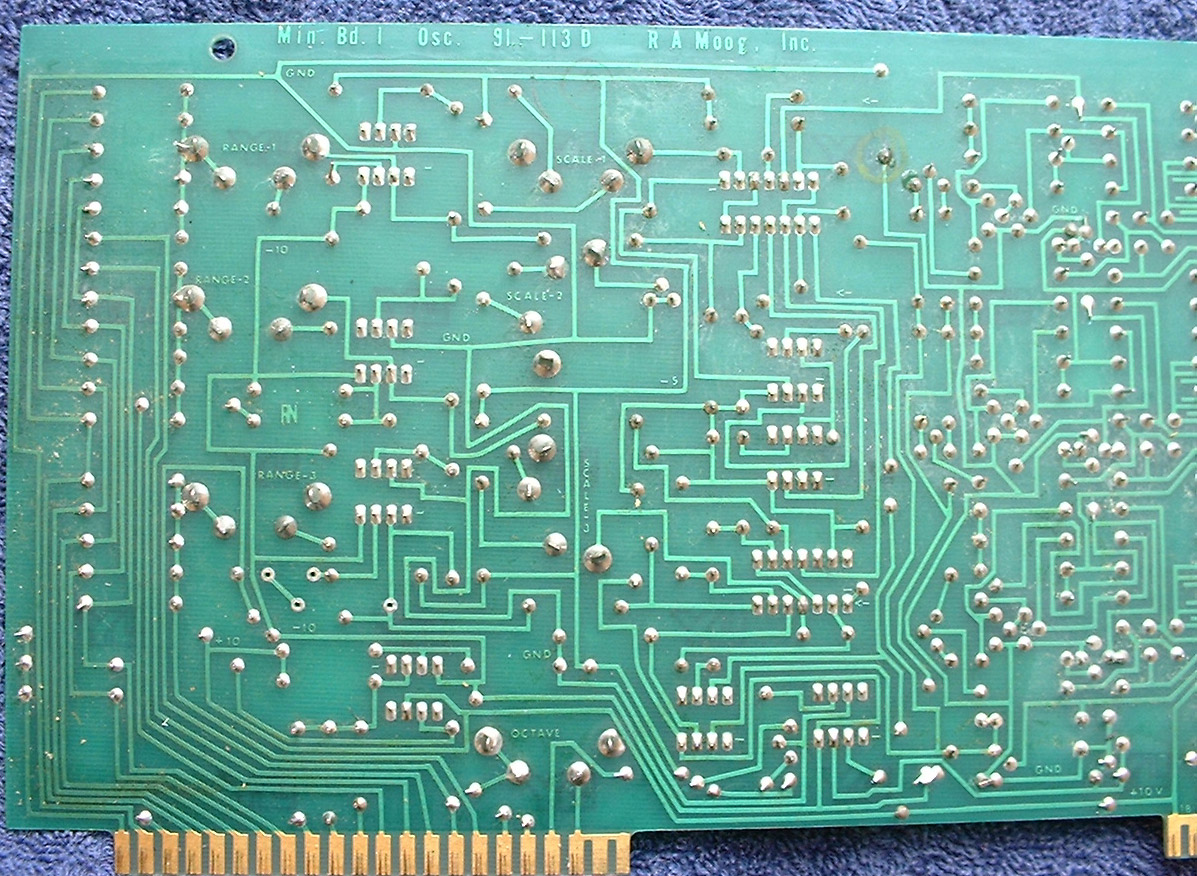
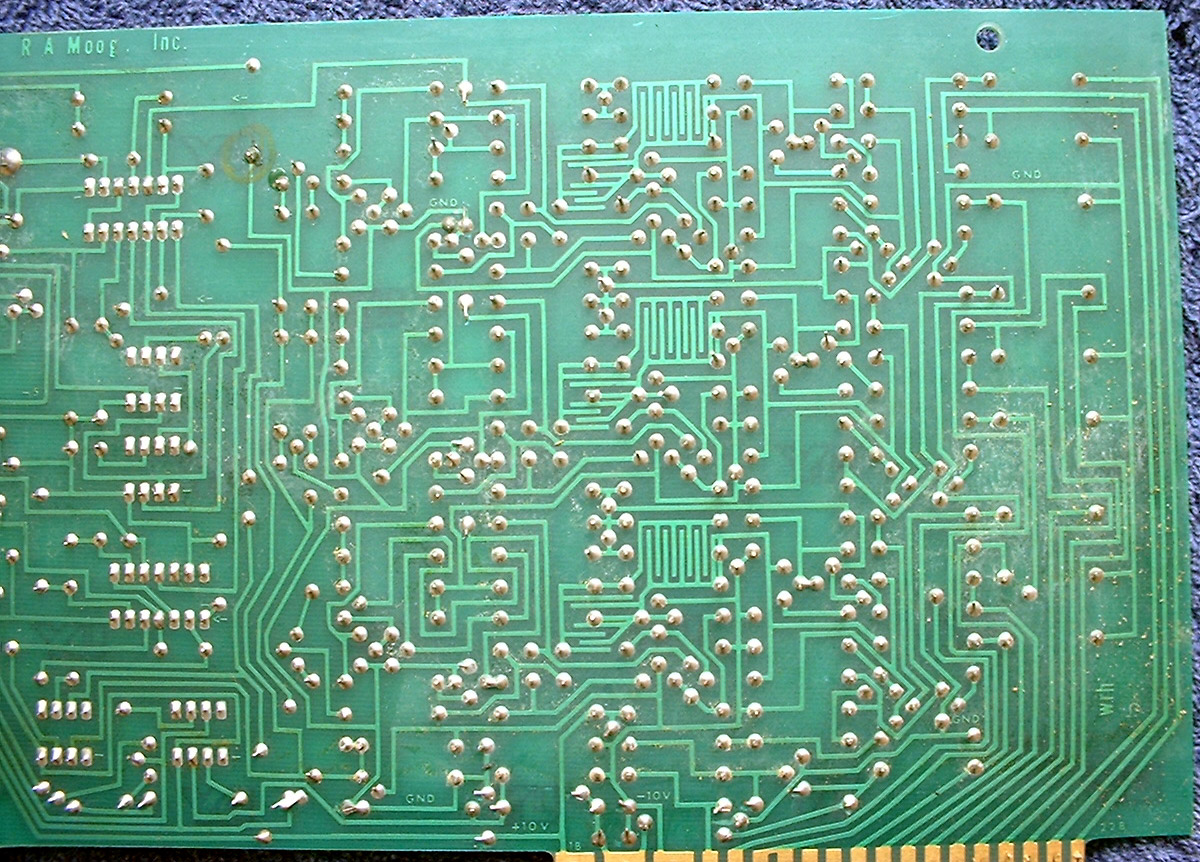
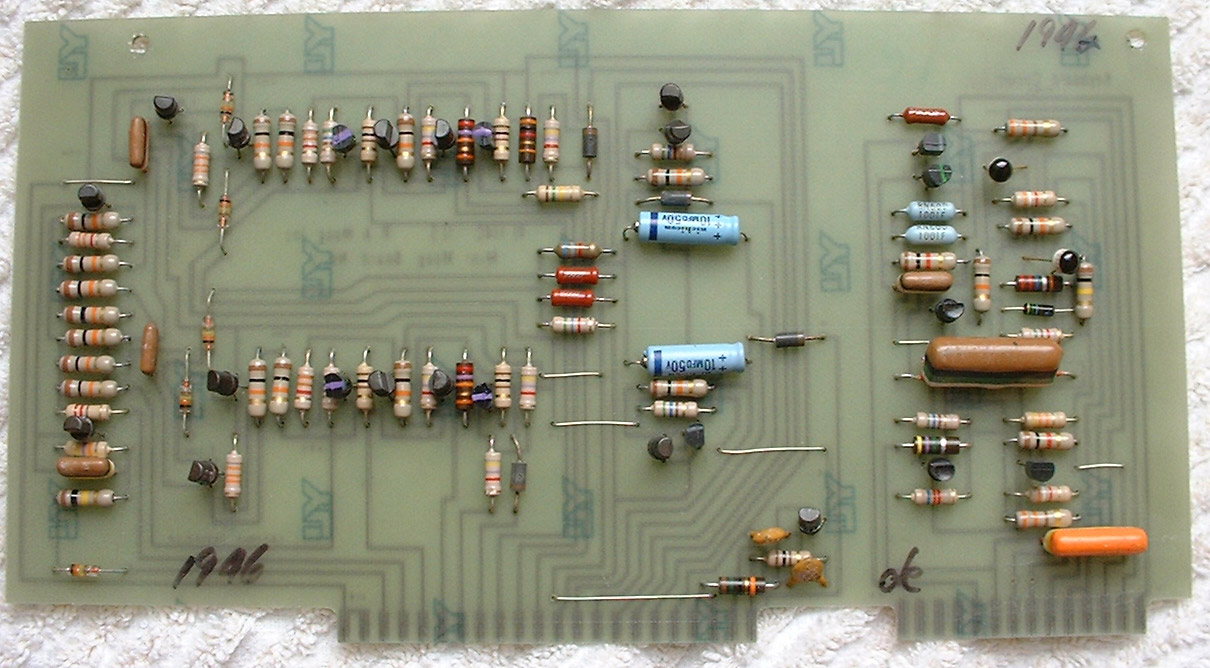
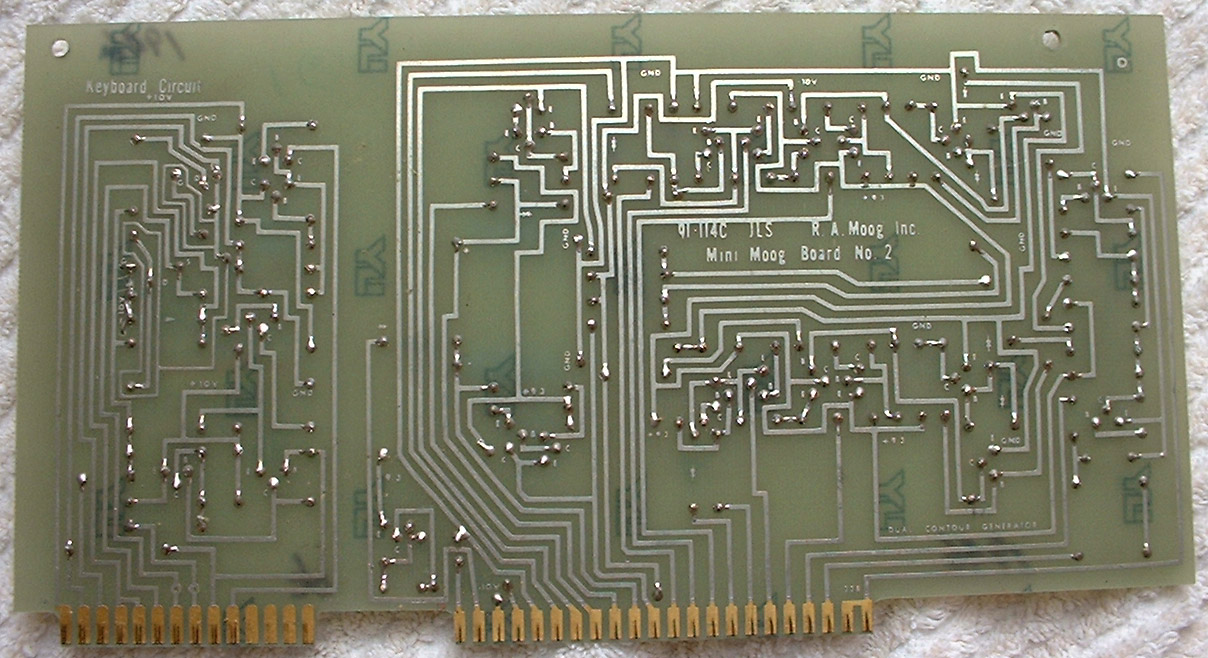
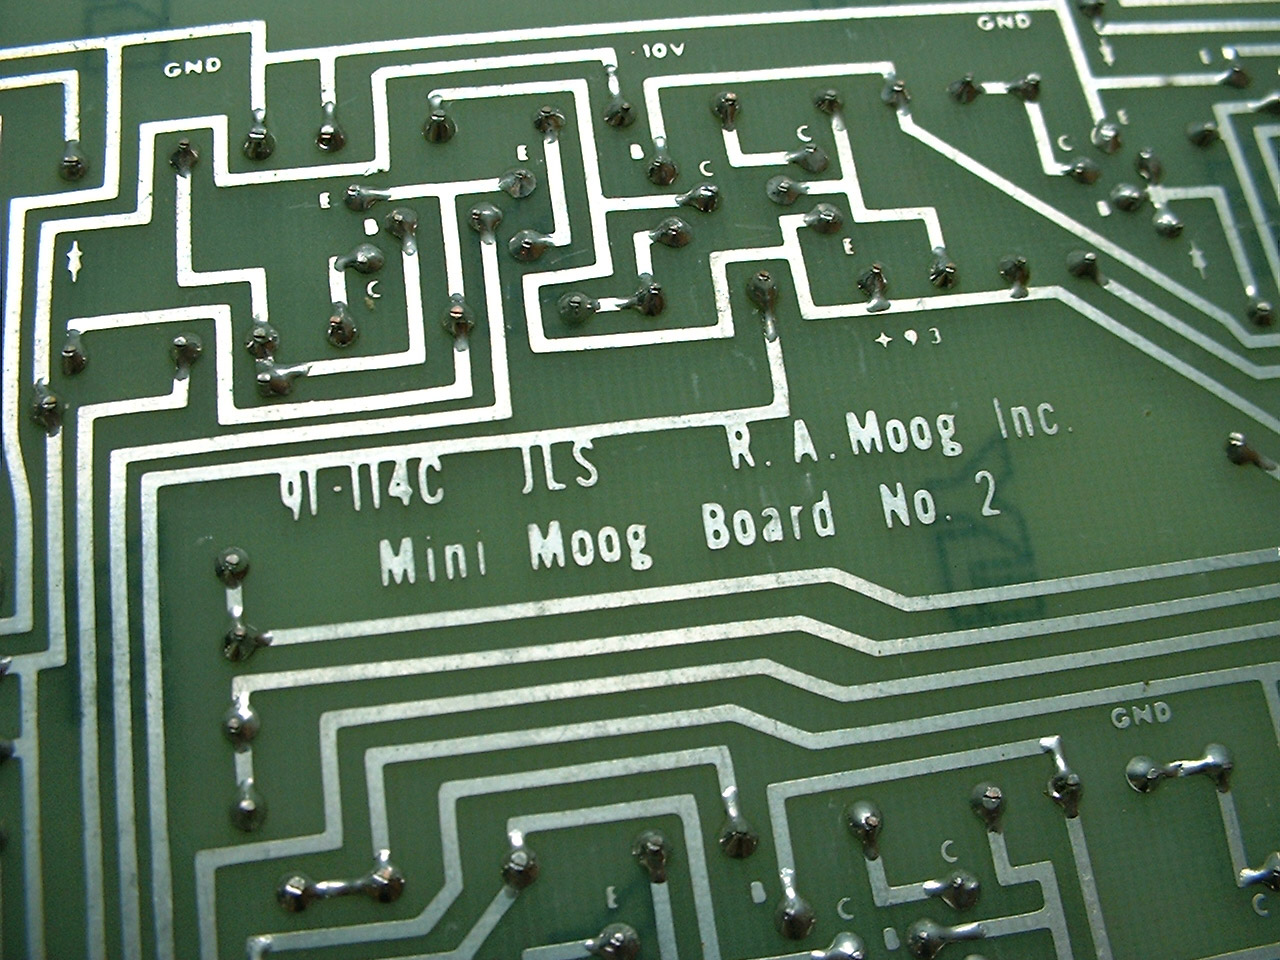
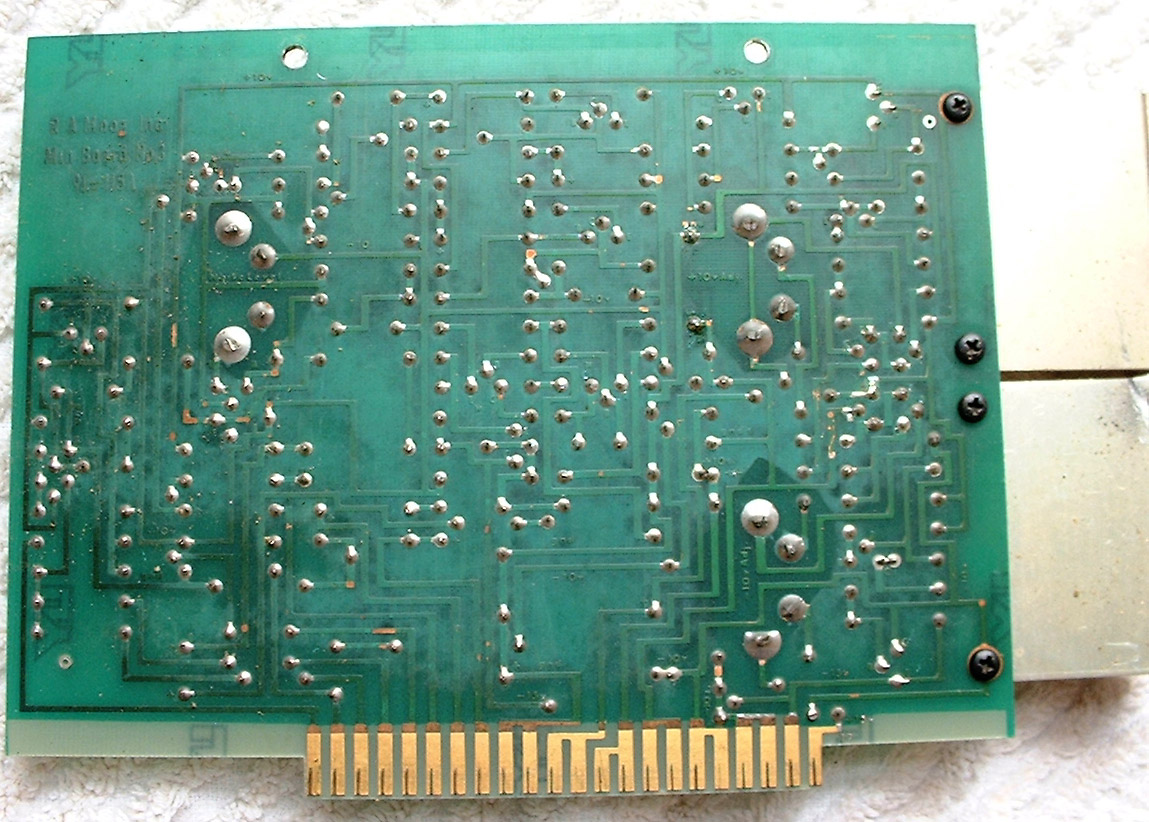
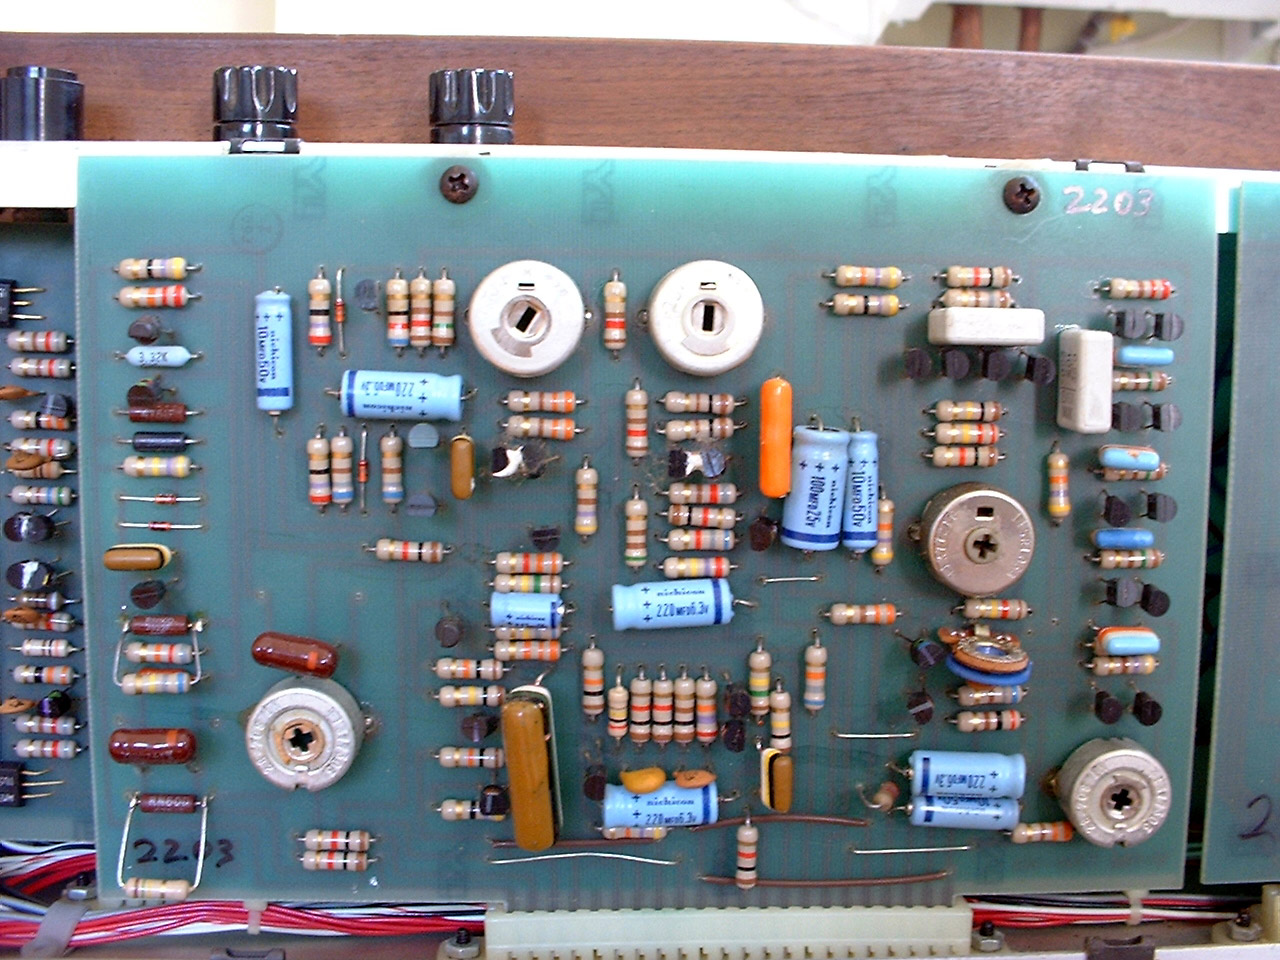
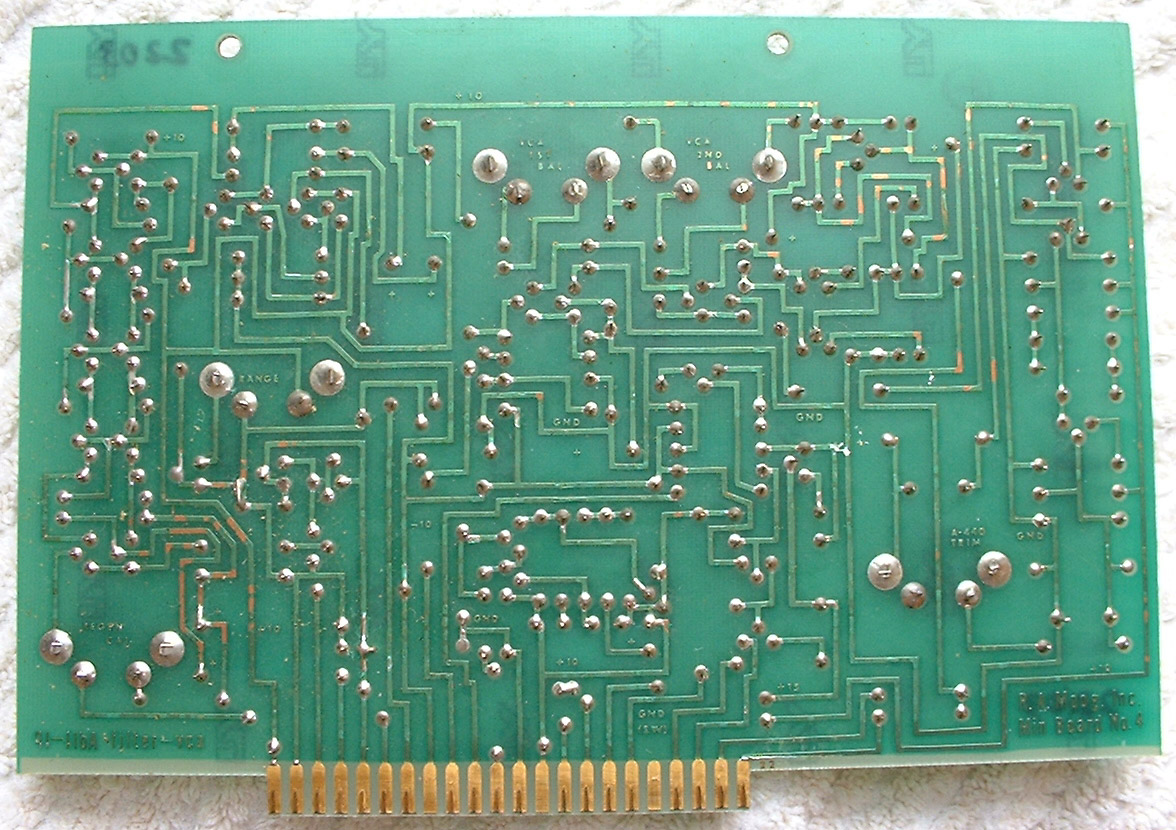
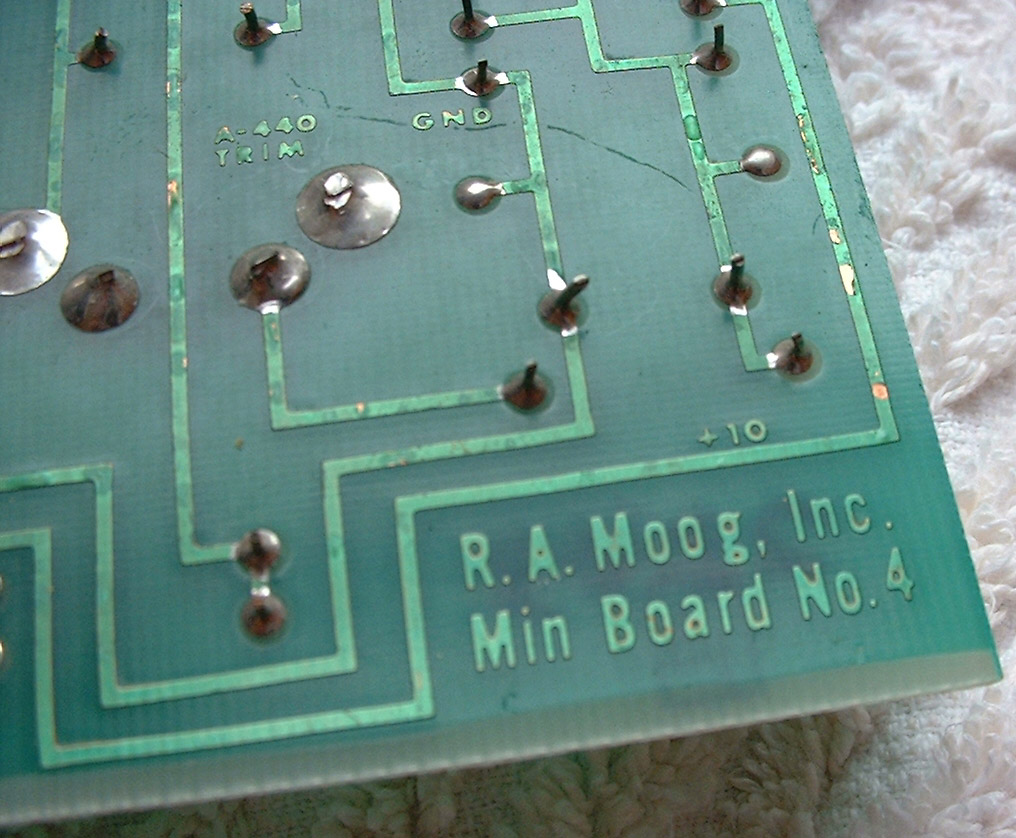
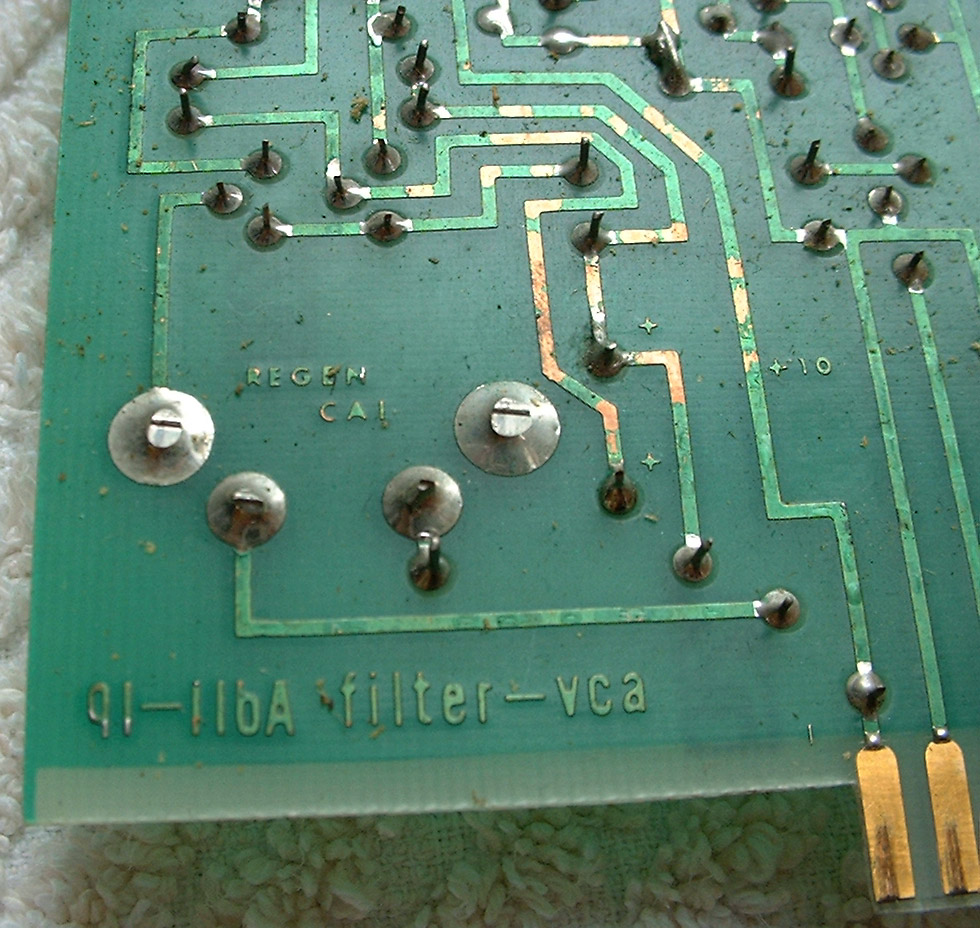
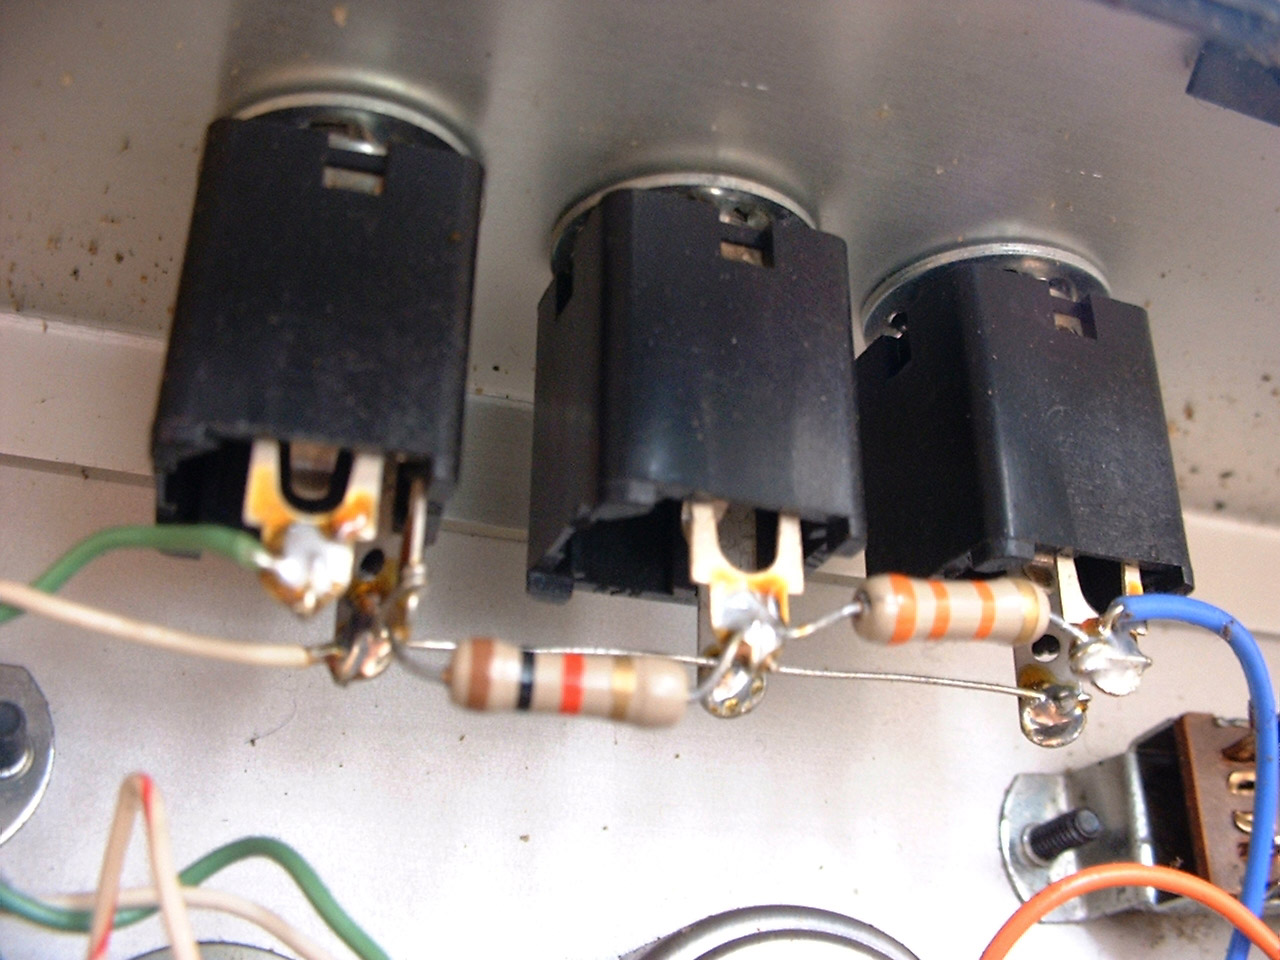
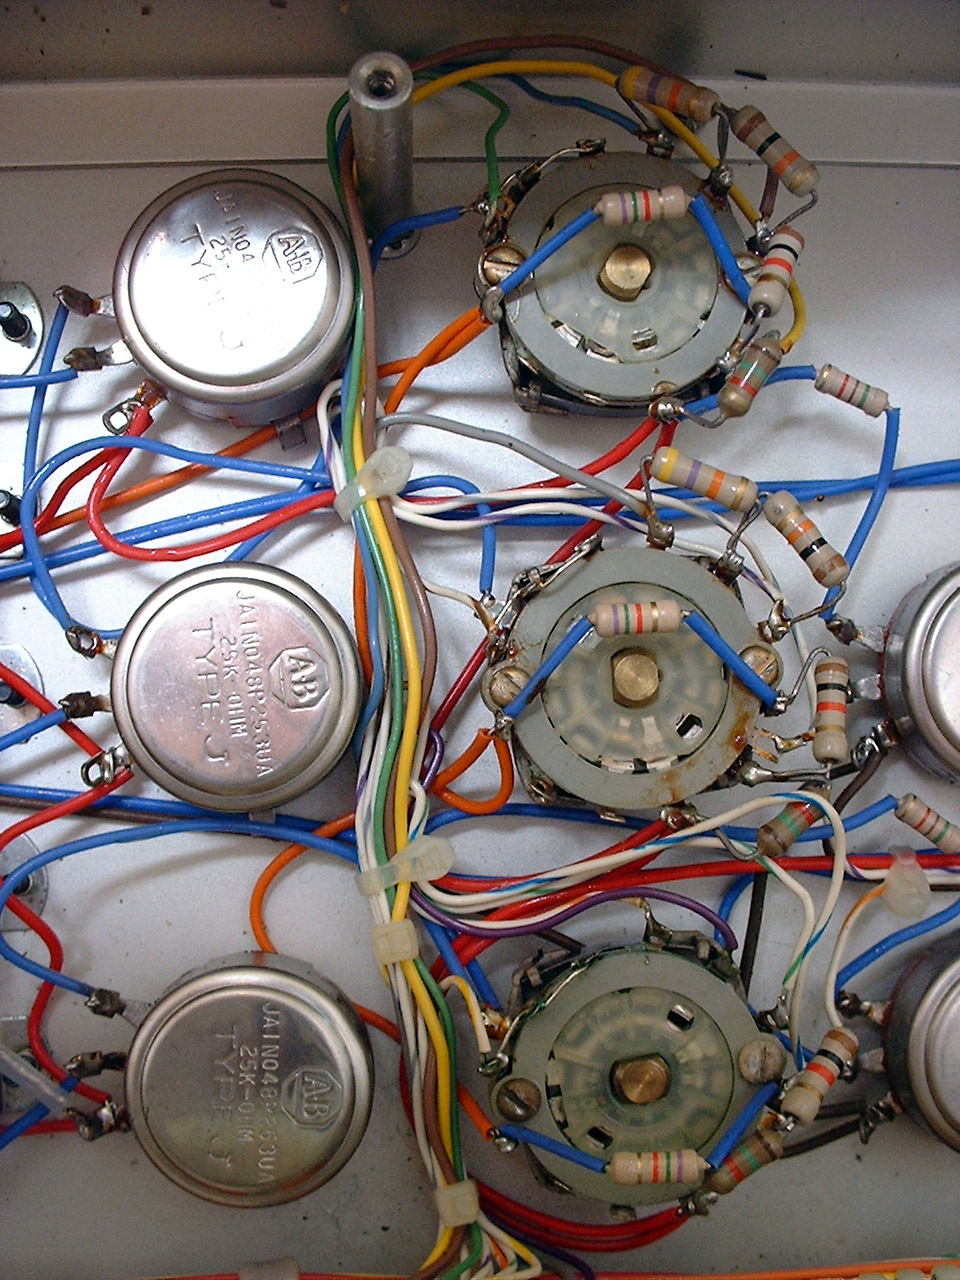
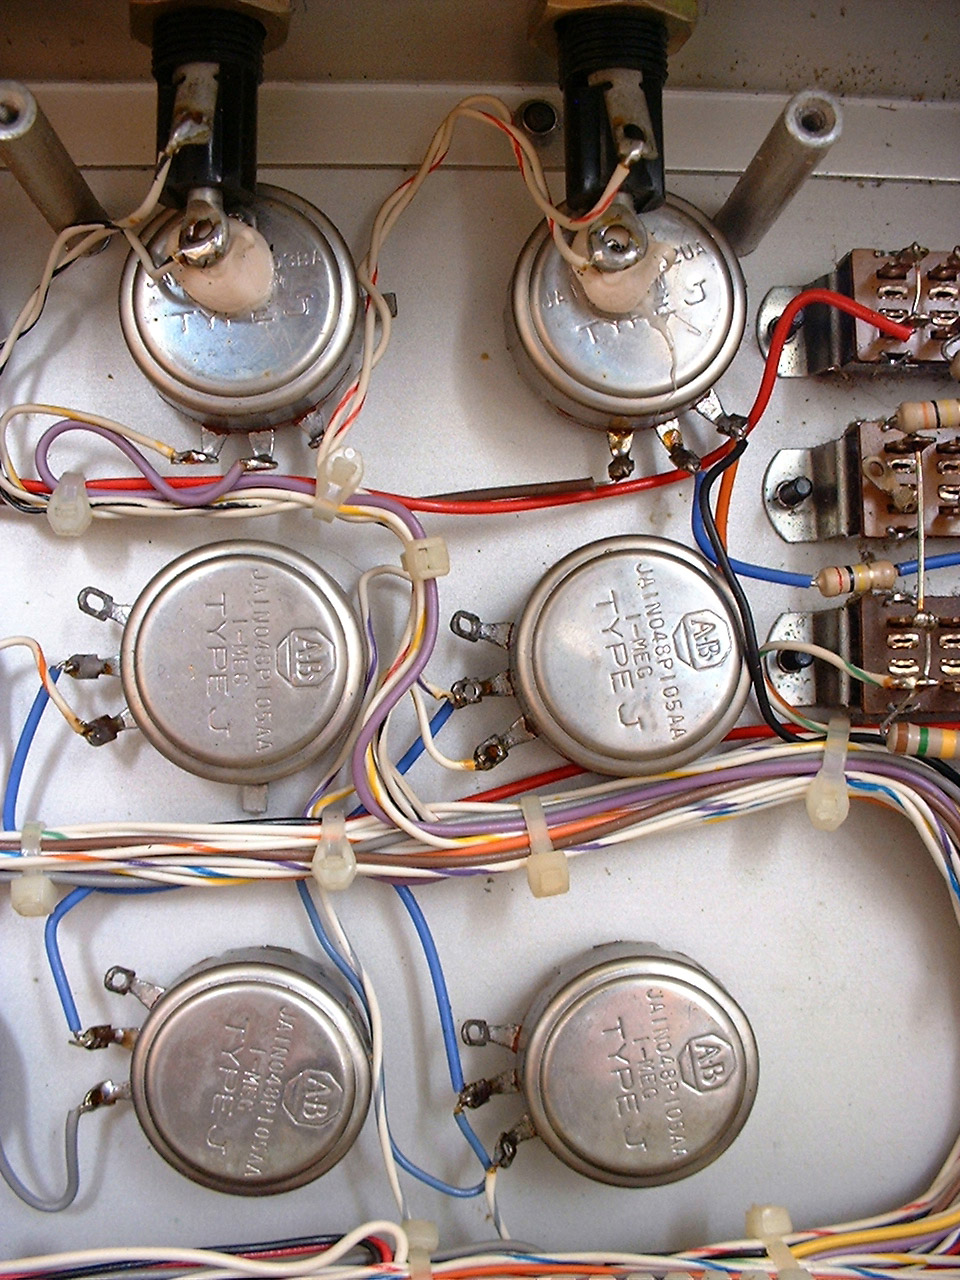
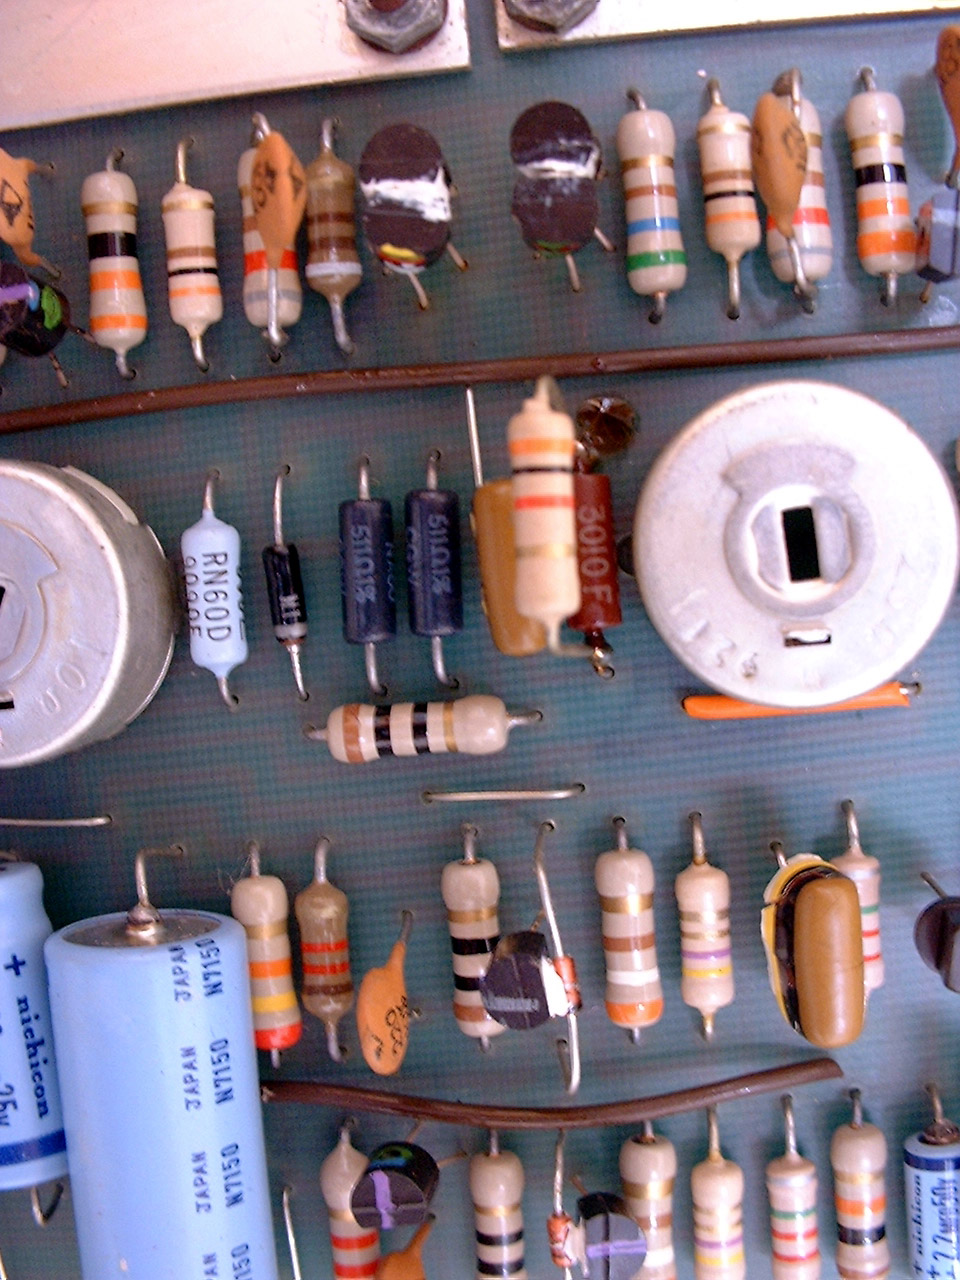
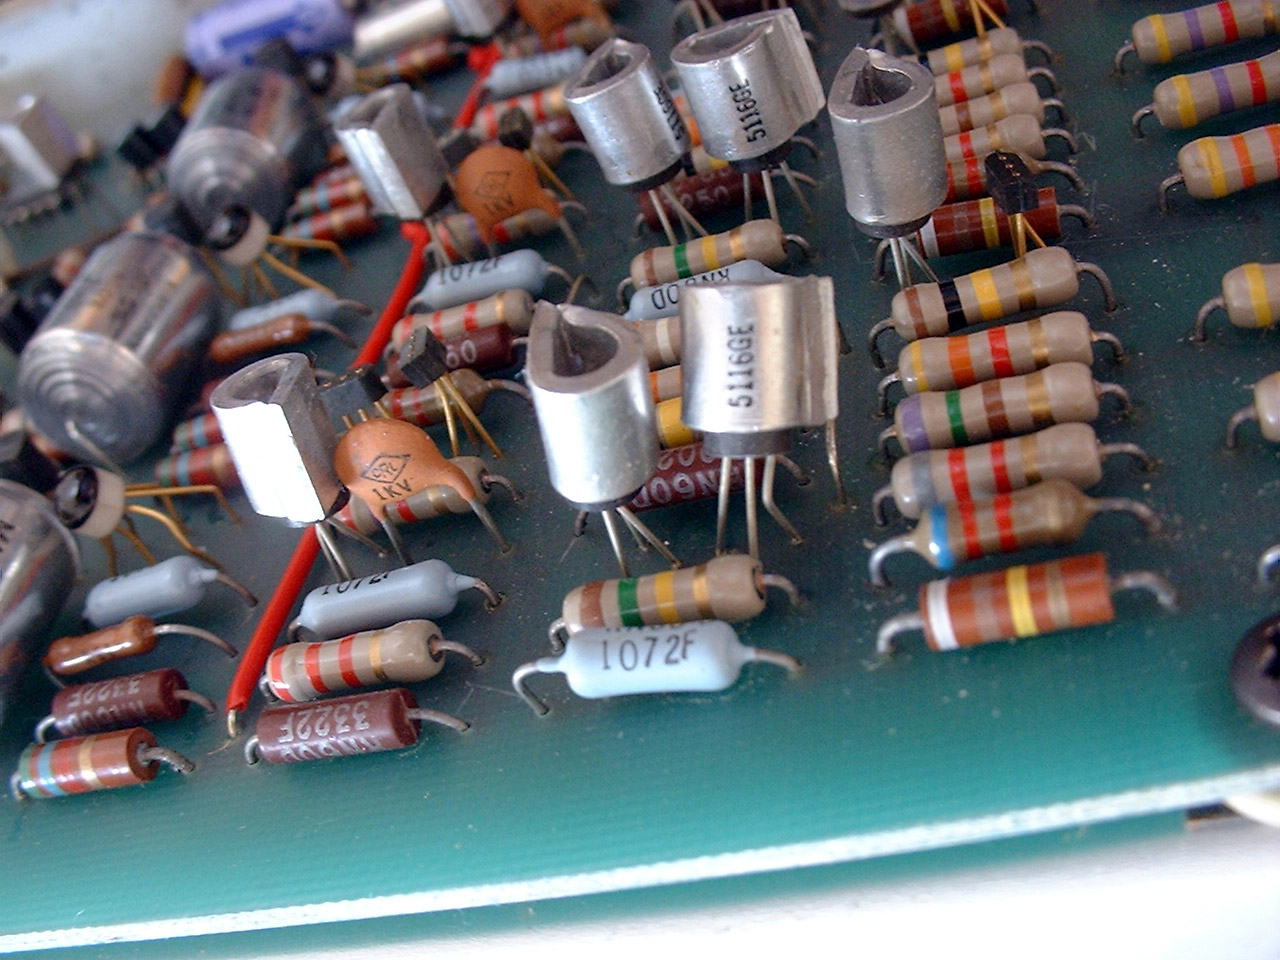
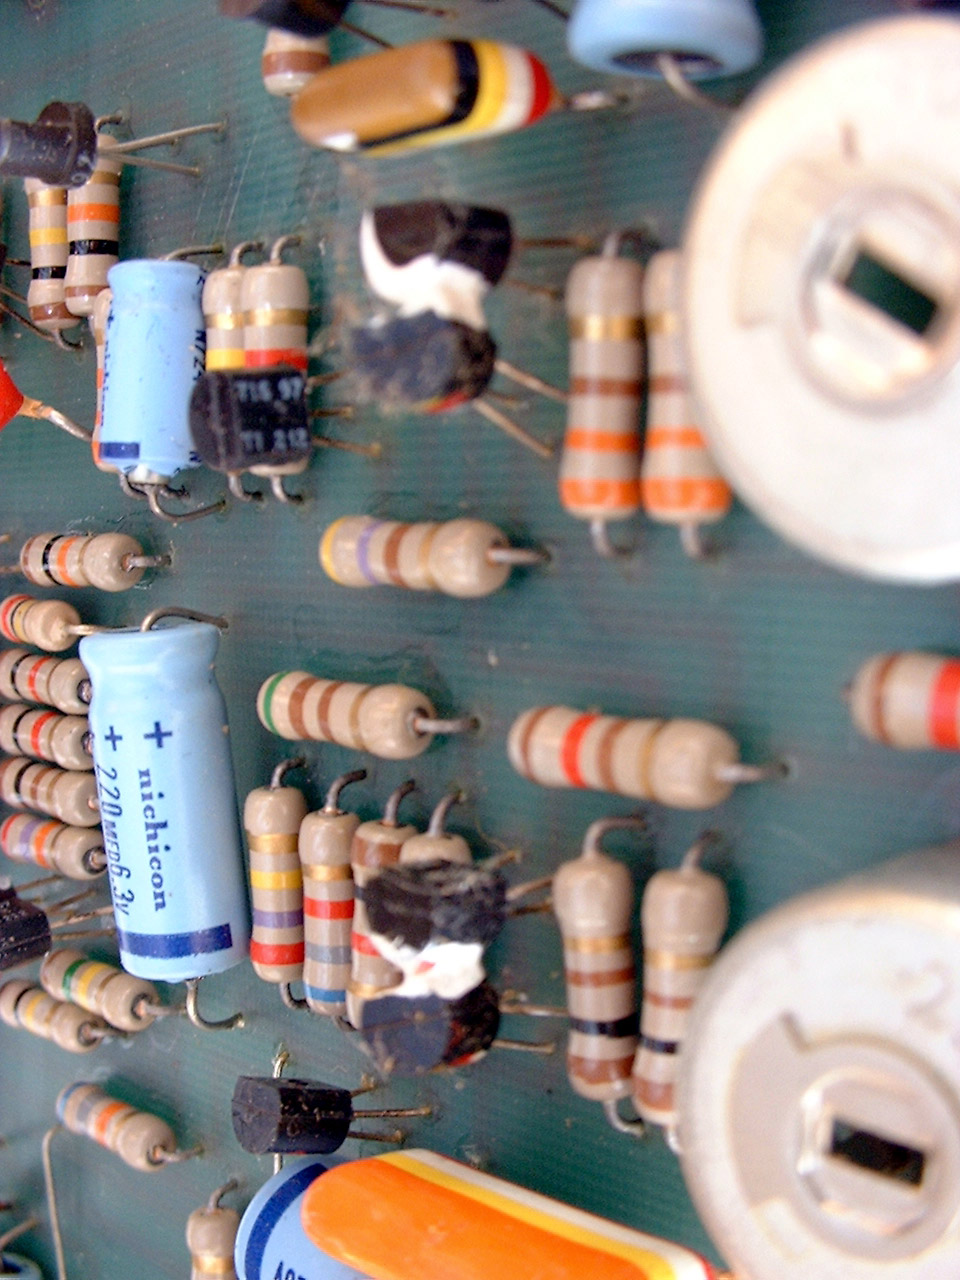
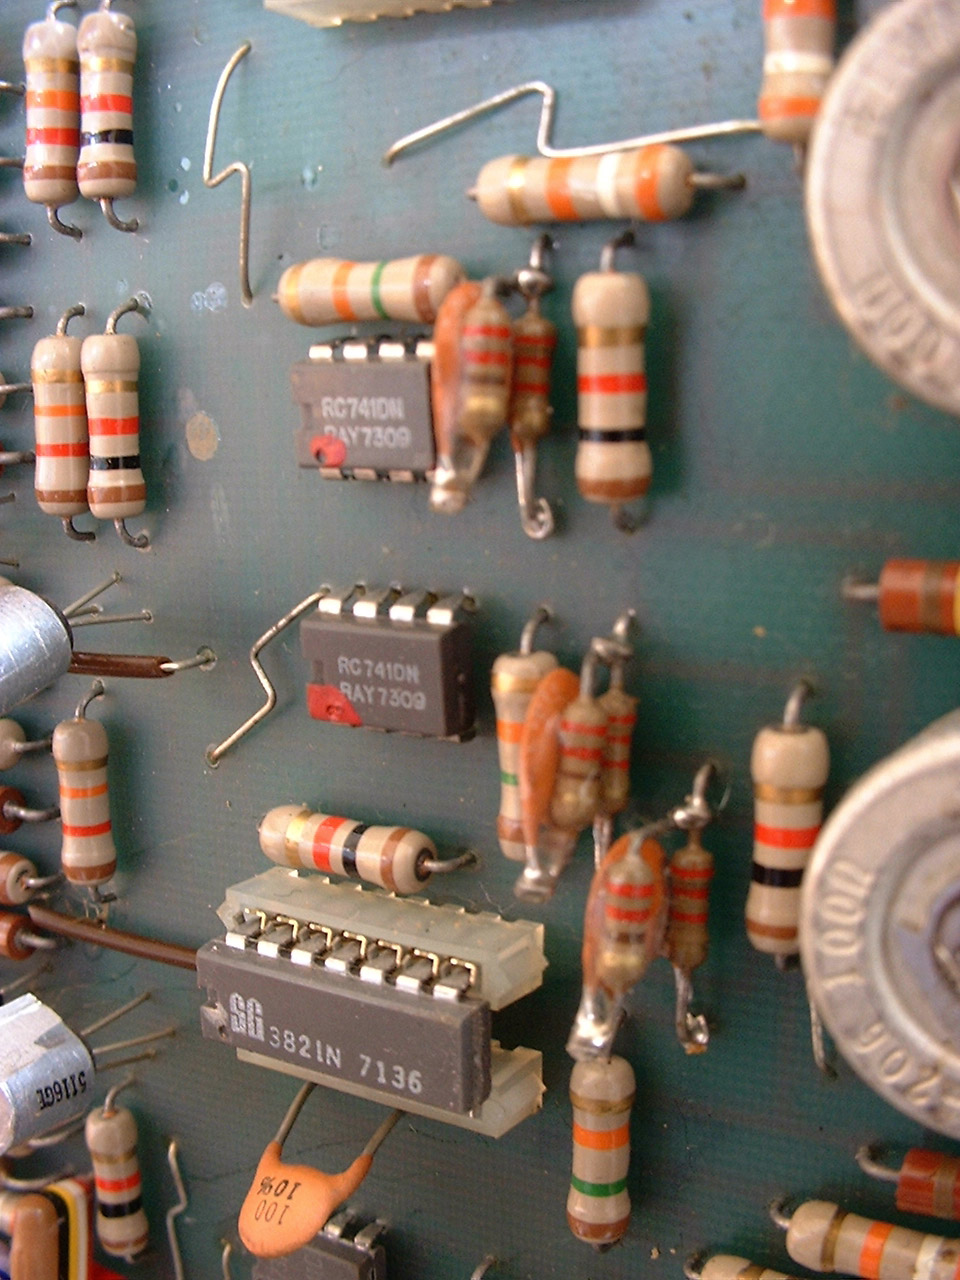
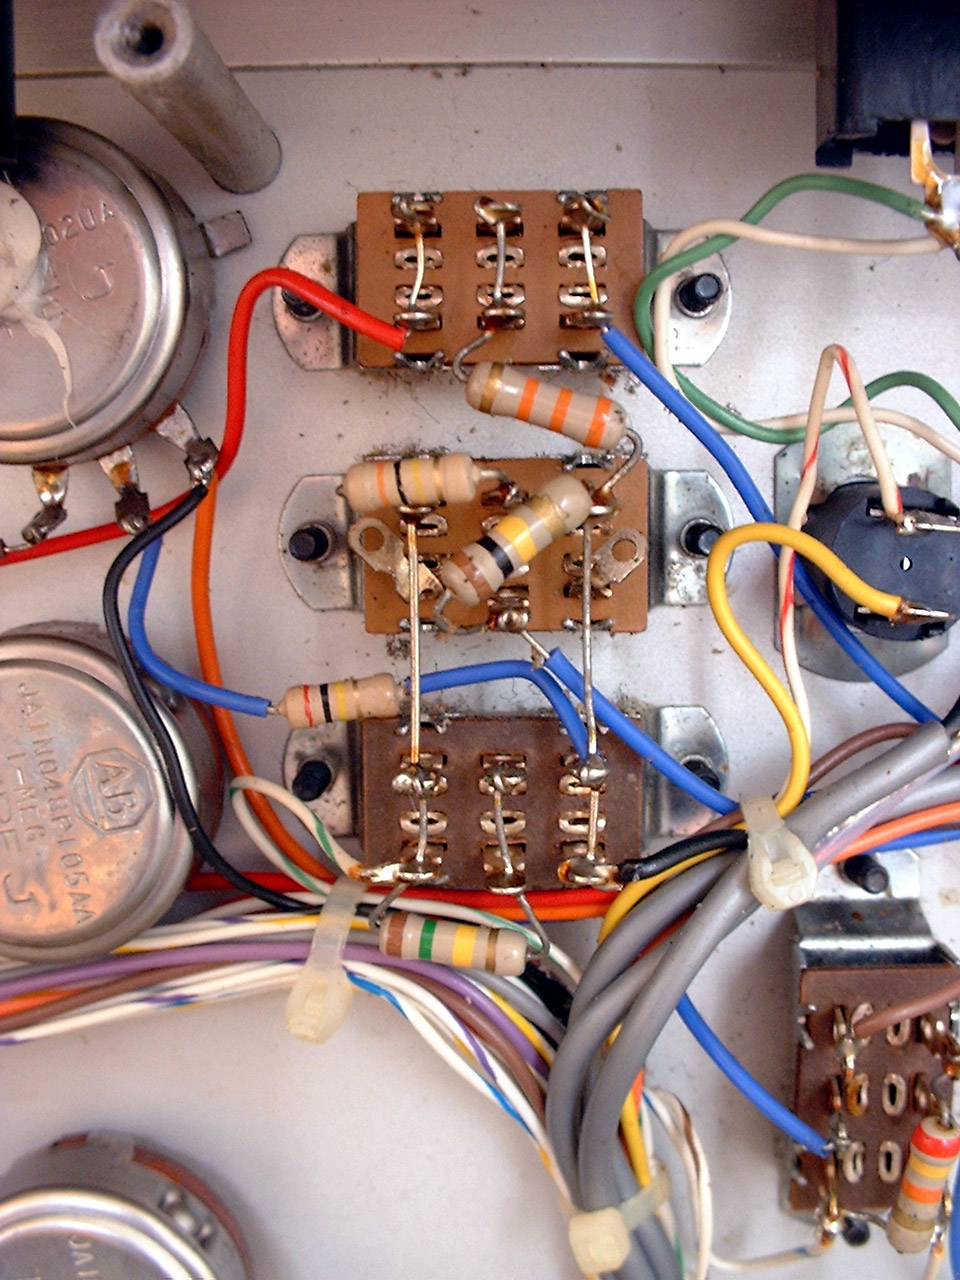
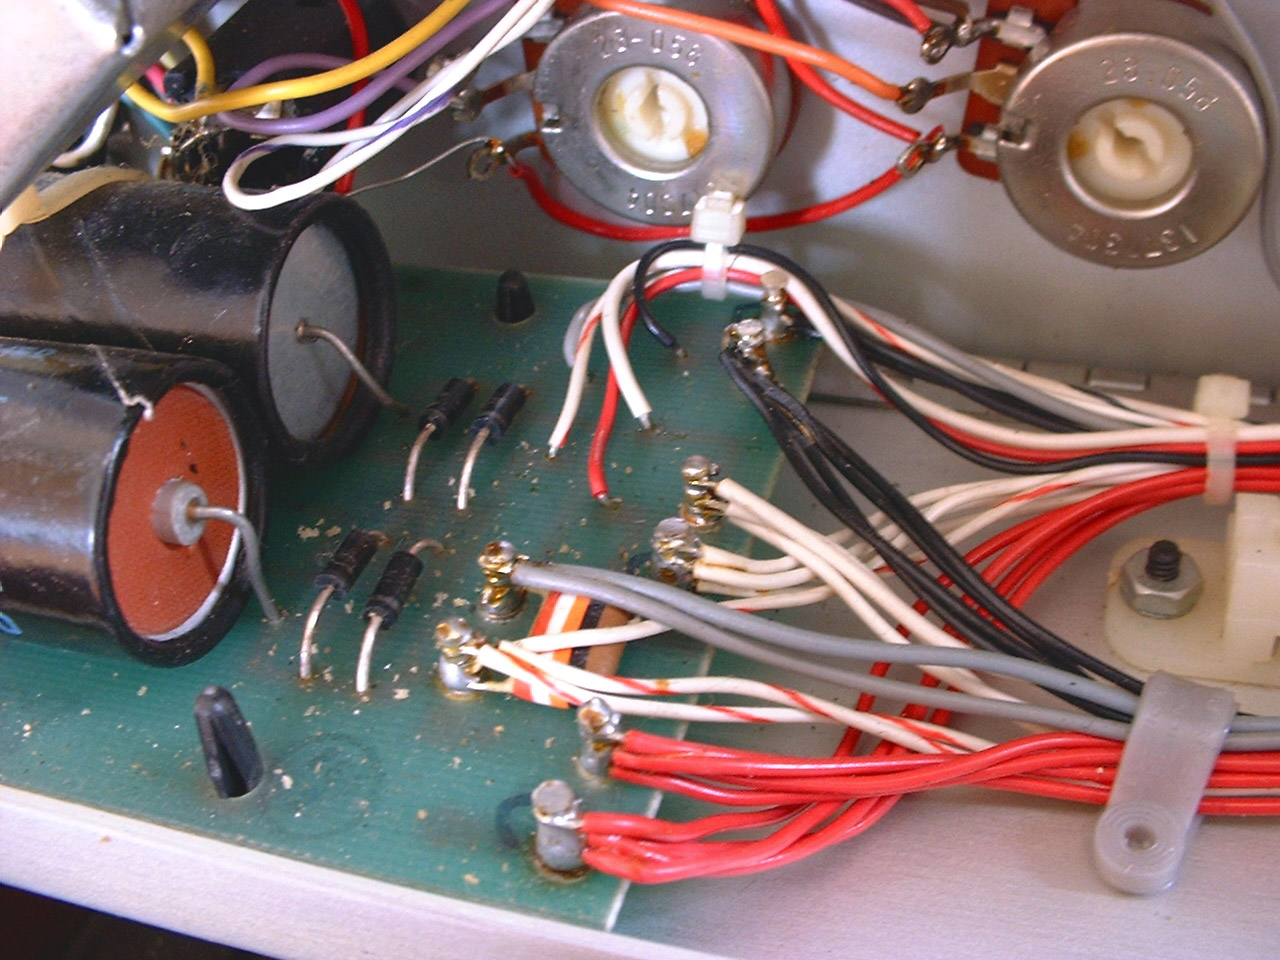
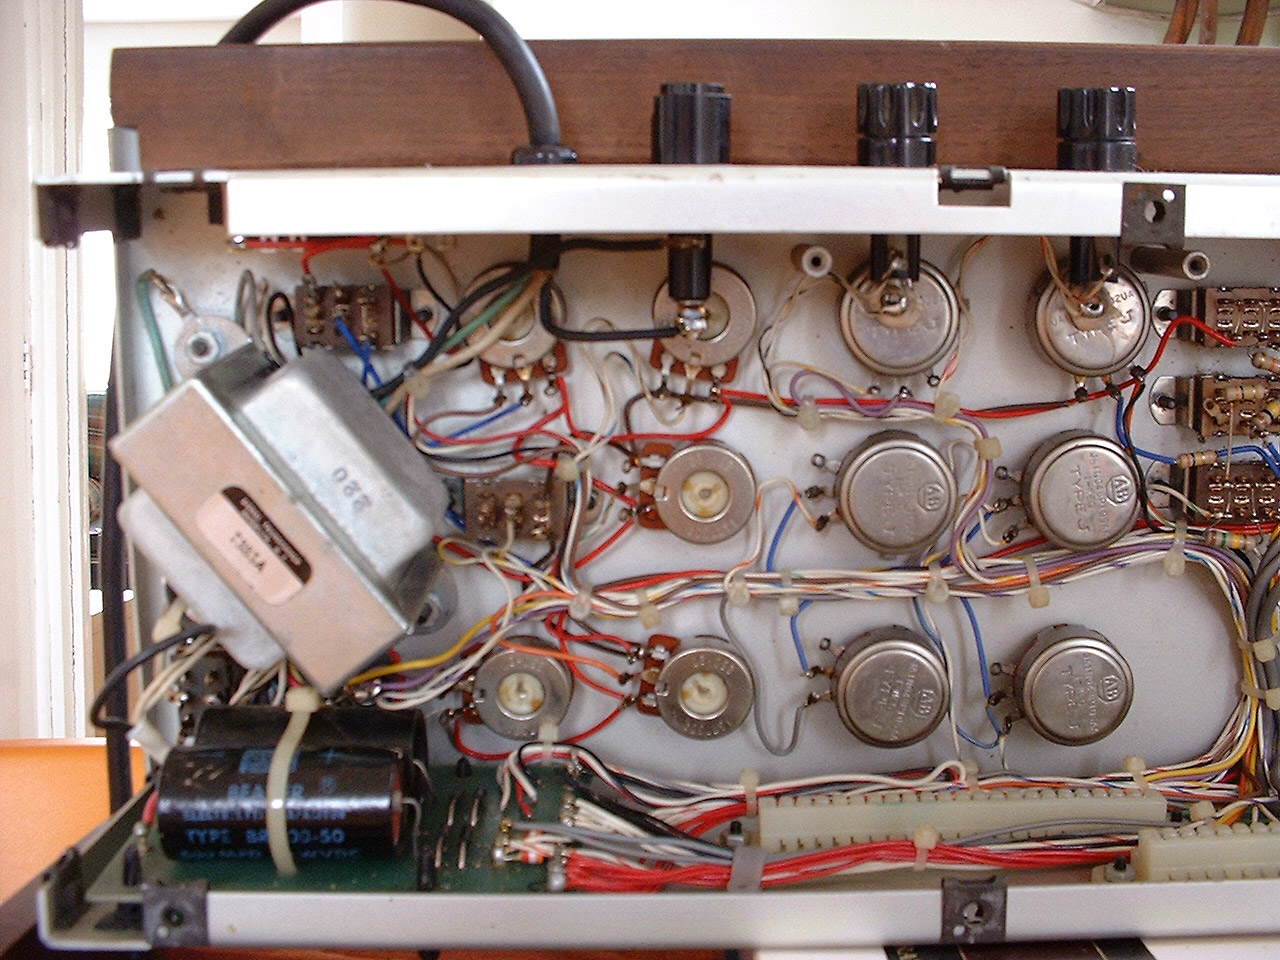
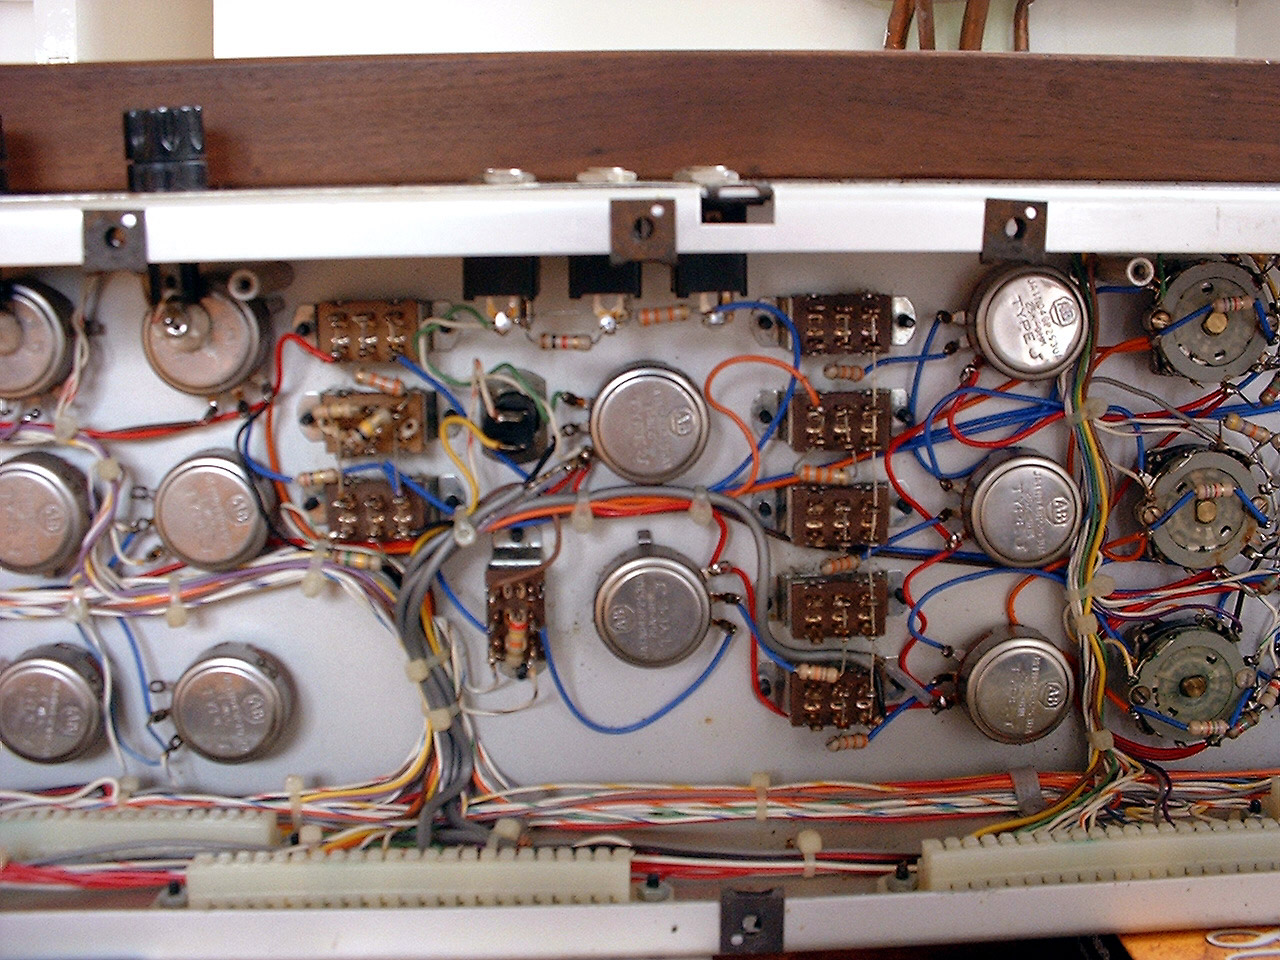
Well, I had already opened it once before to find out how old it was (and to peek at the jewels inside). Then I received a mail from Frederic Vecoven, a gent in the process of building his own machine. He wanted interior shots of the circuit board's solder sides and circuits themselves to assist him with his project. So I took the minimoog apart twice on two consecutive days. Scroll down to see all the pix (day two doesn't have any thumbnails...)
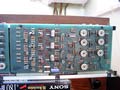
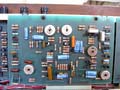
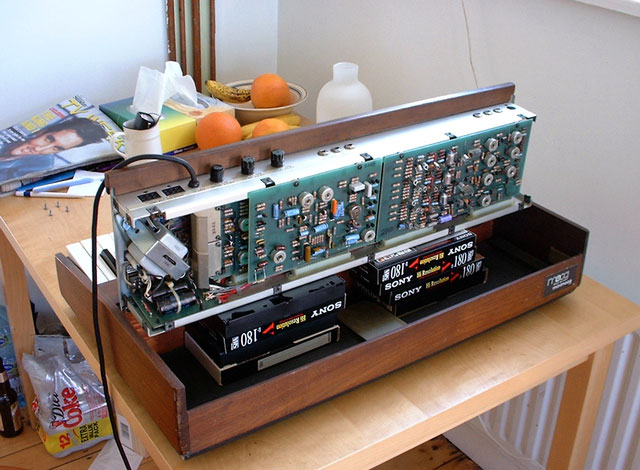
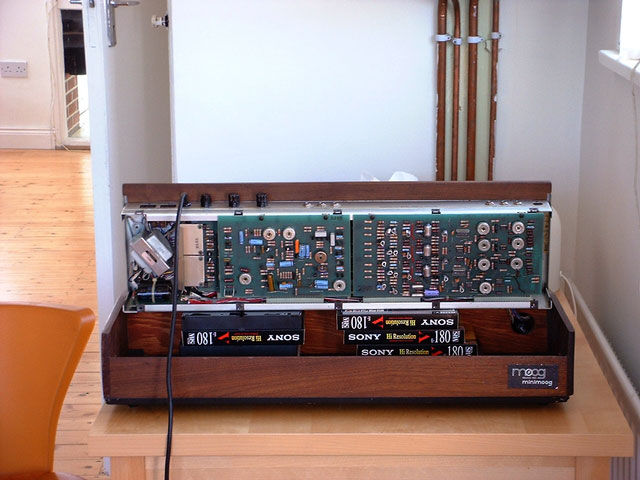
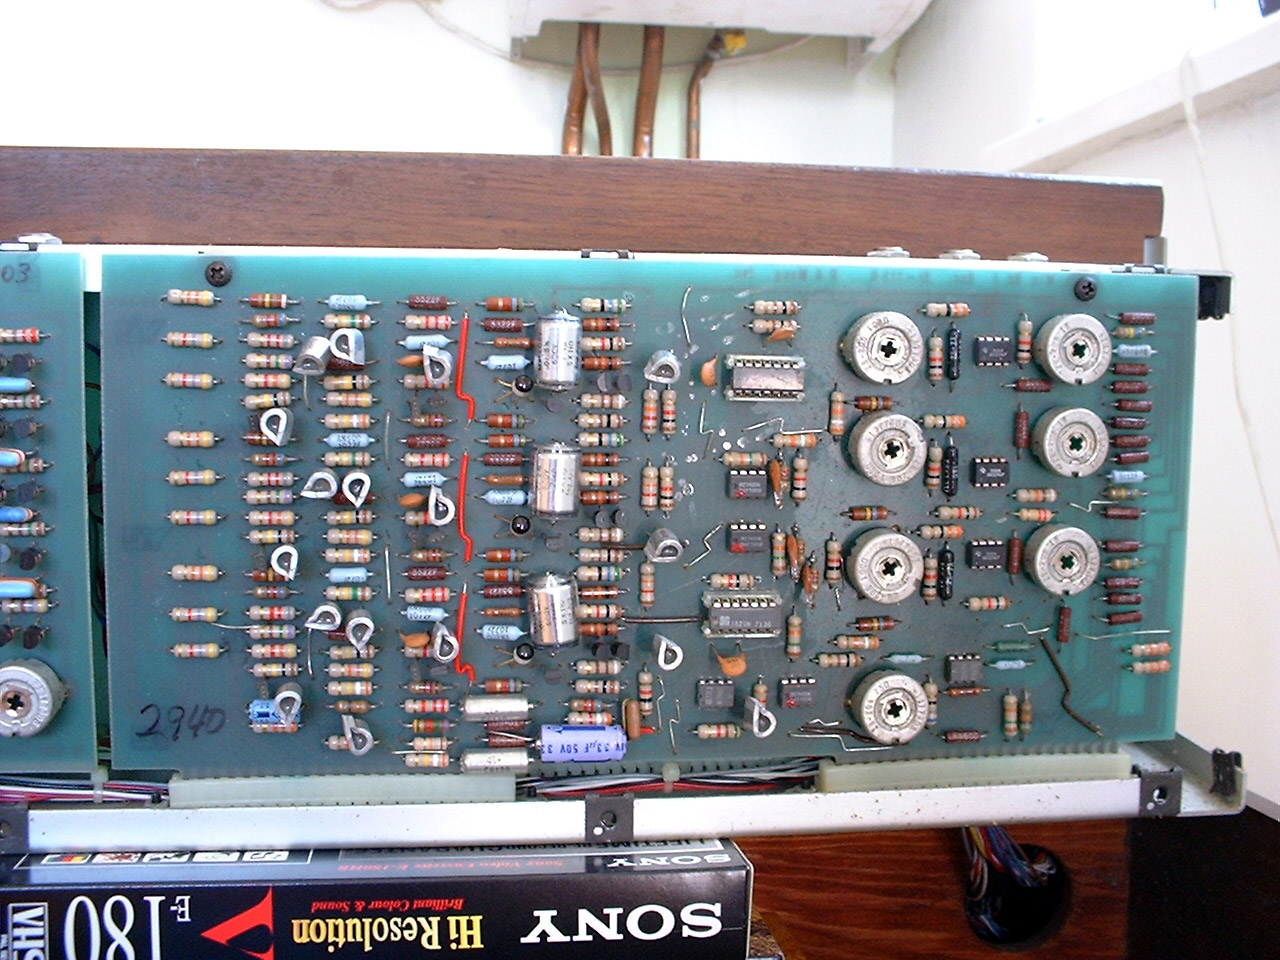
Day One
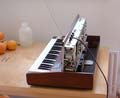
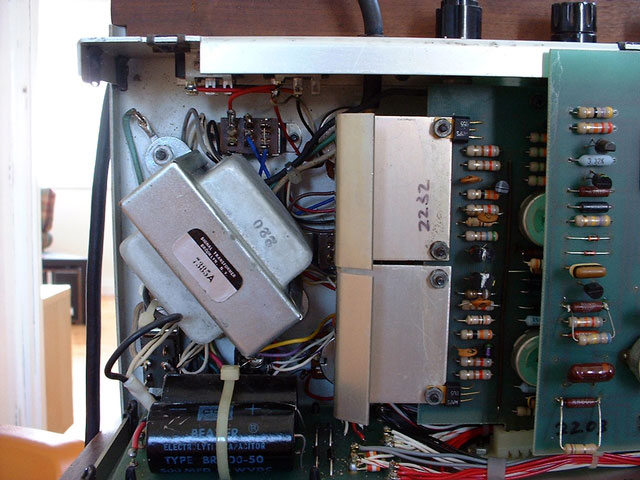
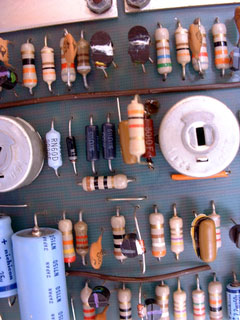
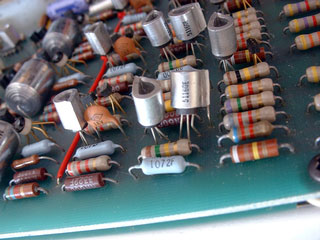
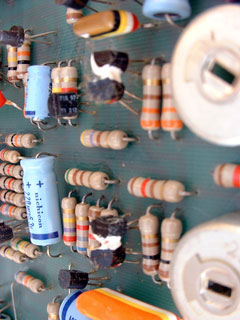
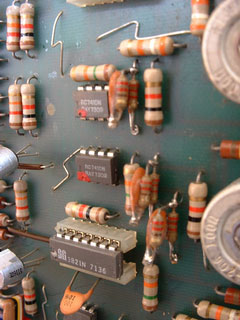
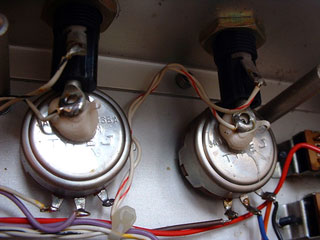
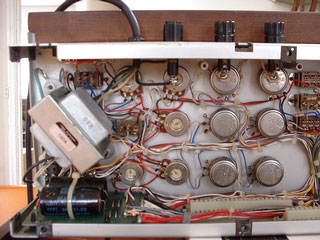
Day one wasn't that succesfull. I couldn't get the damn boards out. They just didn't want to move and I was scared of breaking them. I took some shots and tactically withdrew from the deconstruction process. Here are the day one shots:

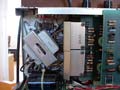
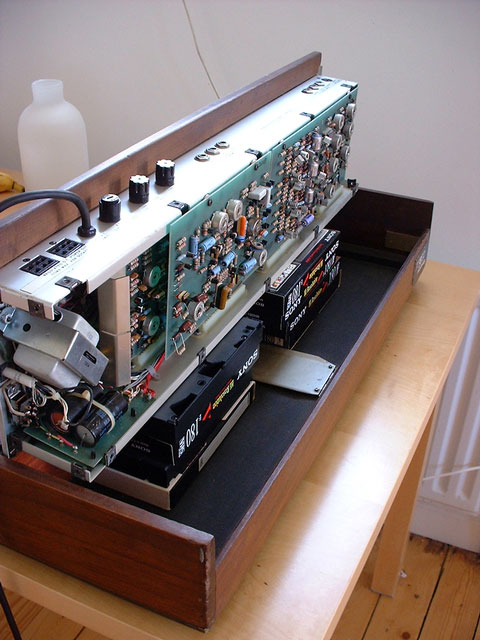
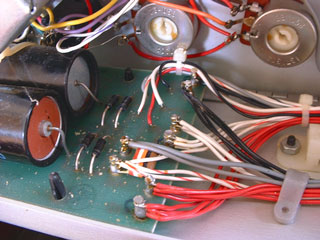
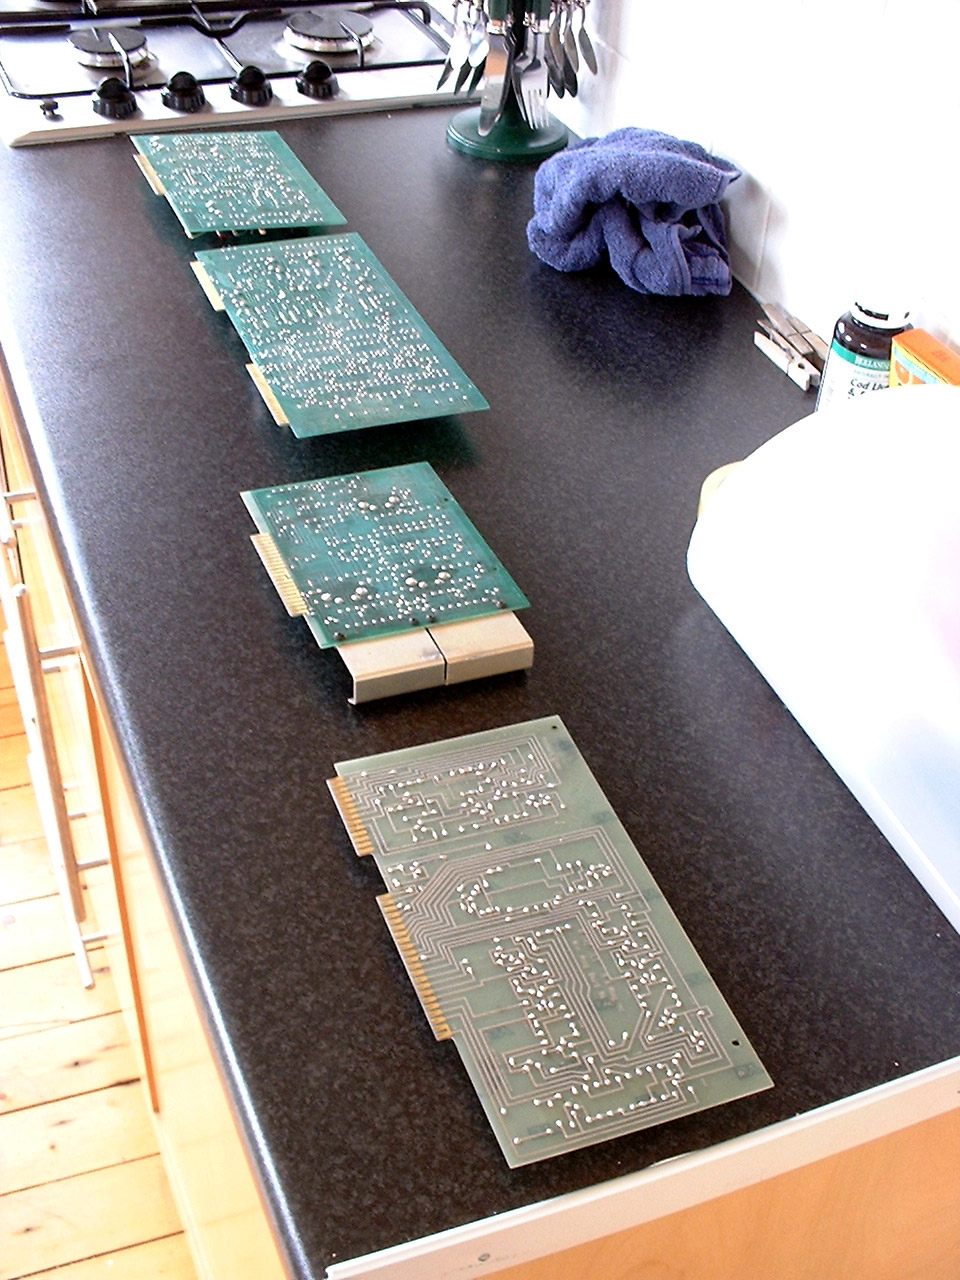
Day Two
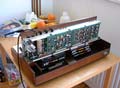
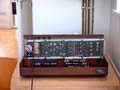
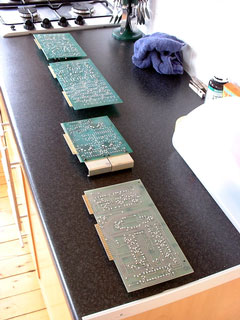
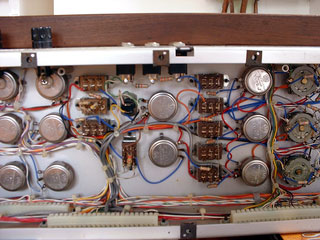
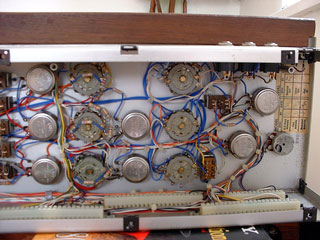
Day two was a lot better and a lot worse. I slowly, slowly, slowly got the boards out of their slots and took the photos. Then I slowly, slowly, slowly, slowly, slowly, slowly, slowly, slowly, slowly, slowly, slowly, slowly, slowly, slowly, slowly, slowly, slowly, slowly, slowly, slowly, slowly, slowly, slowly, slowly, slowly, slowly, slowly, slowly managed to get them back in again. It took a very long time (am I stressing this enough?). The slots that the boards "slot" into were amazingly stiff (and I'm used to installing stiff RAM chips), so I had to very gently push (and wobble) very, very, very, very, very, very hard, until they finally "crinked" into place. I carefully reassembled the minimoog, vowing to never take it apart again. It was given a test run just to make sure I hadn't broken anything (sounded sweet), and then I gave it a loving polish to say "sorry"...
questions or queries? drop me a mail.
(back to the synth index)
|


